Yesterday was the Spring Equinox, better known as the first day of spring. It is one of my favorite seasons. The return of the birds, new flowers and green grass; and of course warmer weather and longer days. The first flowers of spring are some of my favorites. Crocus, tulips, daffodils, and cherry blossoms in all different colors, well at least the crocus and tulips! In Iowa, there is a small town festival near us called the Tulip Festival. There are thousands of tulips planted in a multitude of colors. The town is in a Dutch community and is highlighted by parades, a nightly musical theater, beautiful traditional Dutch costumes, and of course Dutch food. It is two days of fun in the middle of May and the people from the community are just delightful. This year is the 85 anniversary of the Orange City Tulip Festival. Check it out at octulipfestival.com
The return of spring also means fresh fruits in our area and the return of berries ready for canning. The theme of my card examples this month are berries.
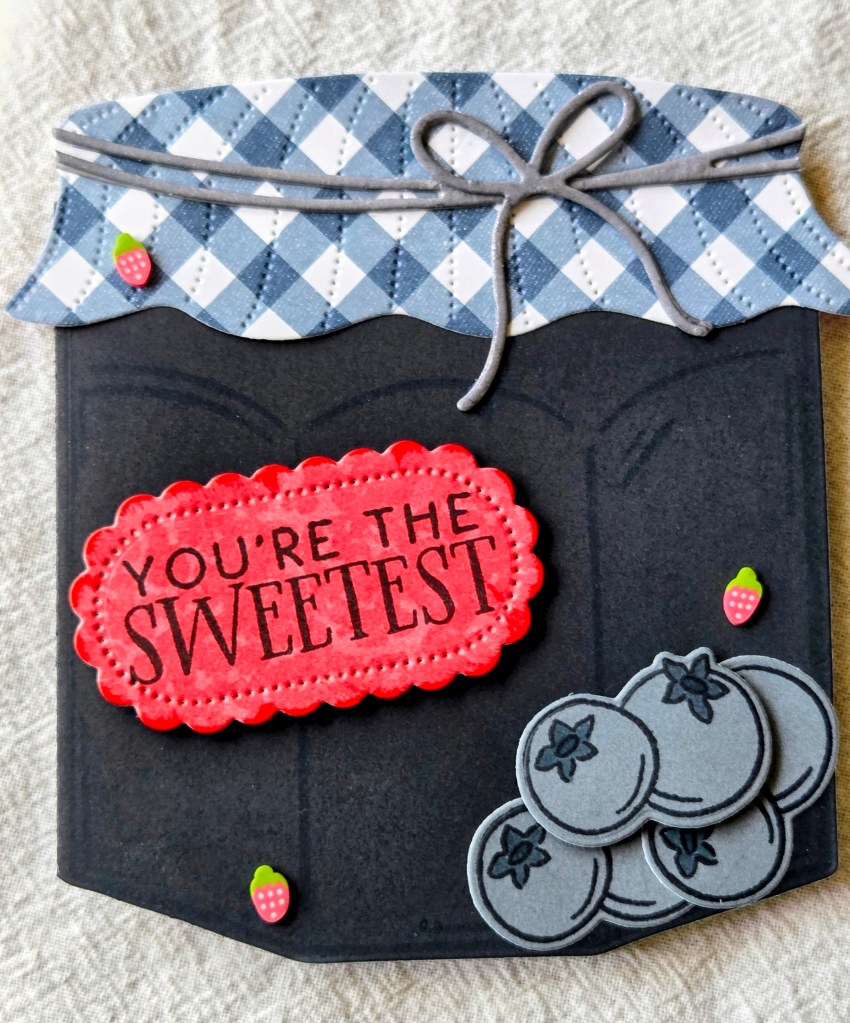
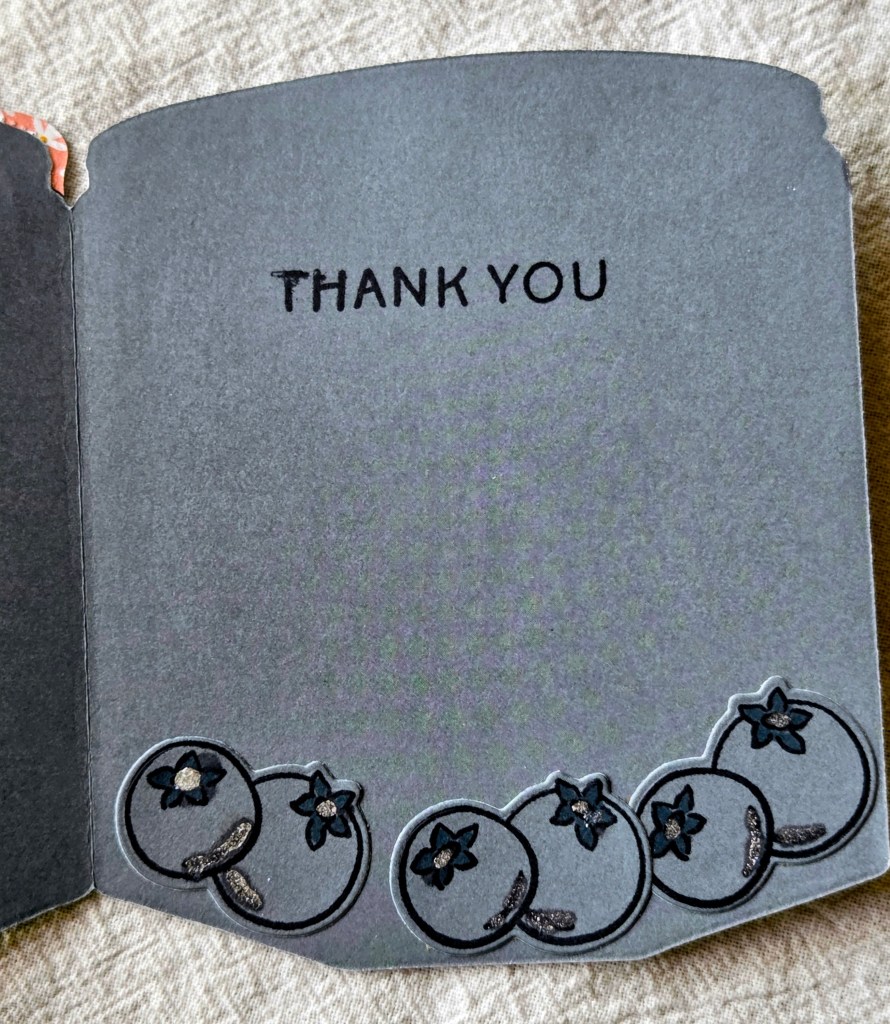
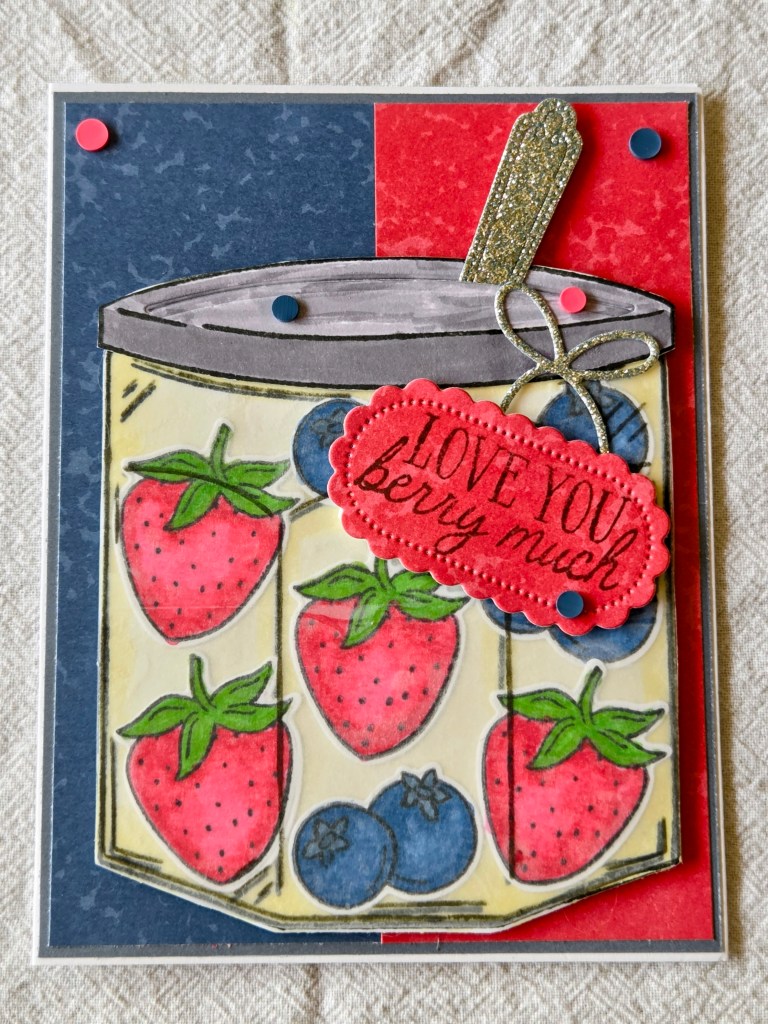
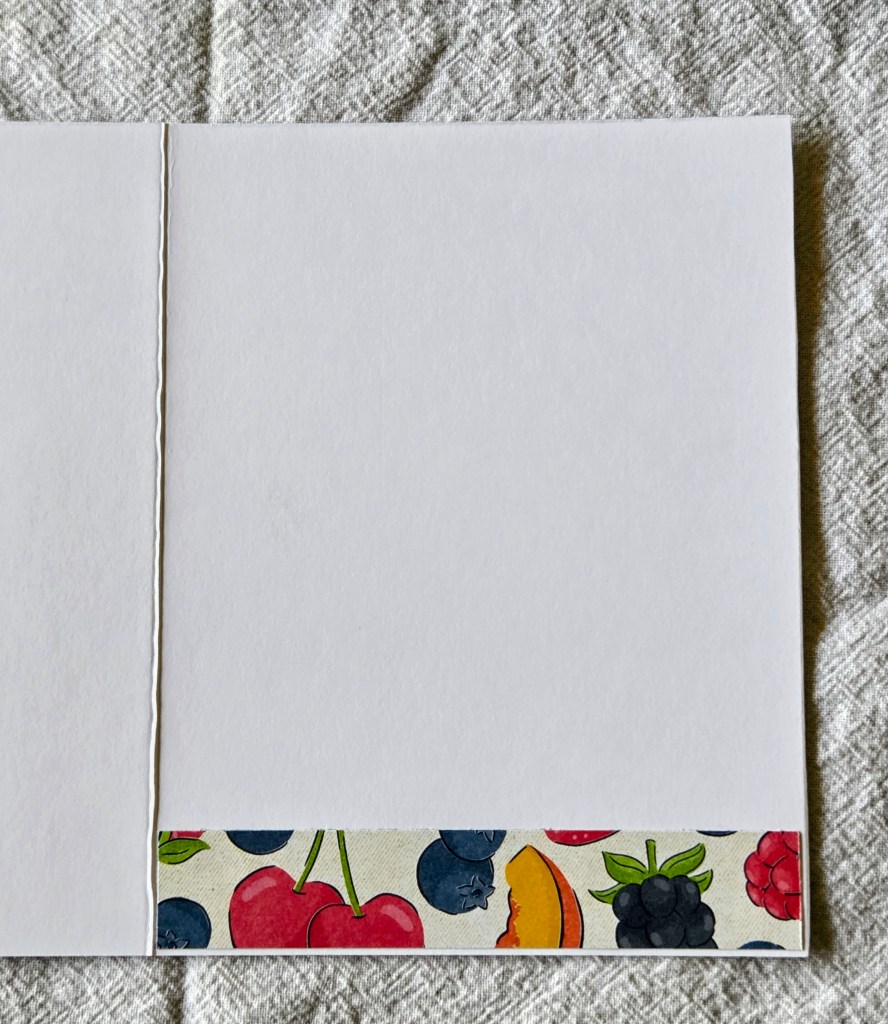
The first card is a “shape card” and not a rectangular shape. This particular card is shaped like a canning/jelly jar. So cute! The cards were made with cardstock, die cuts, and patterned paper from the Homemade Sweetness designer paper collection from Stampin’Up!. The second card has stamped and die cut strawberries and blueberries on white cardstock and then colored with alcohol markers. The jar was also stamped onto white cardstock, colored with alcohol markers and finally it has vellum on top that was stamped and then adhered to the card which gives the illusion that the berries are inside the jar! The last card is called a slimline card as it will fit into a regular mailing envelope. I will go over the technique used a little later in this post.
Other Paper Crafts
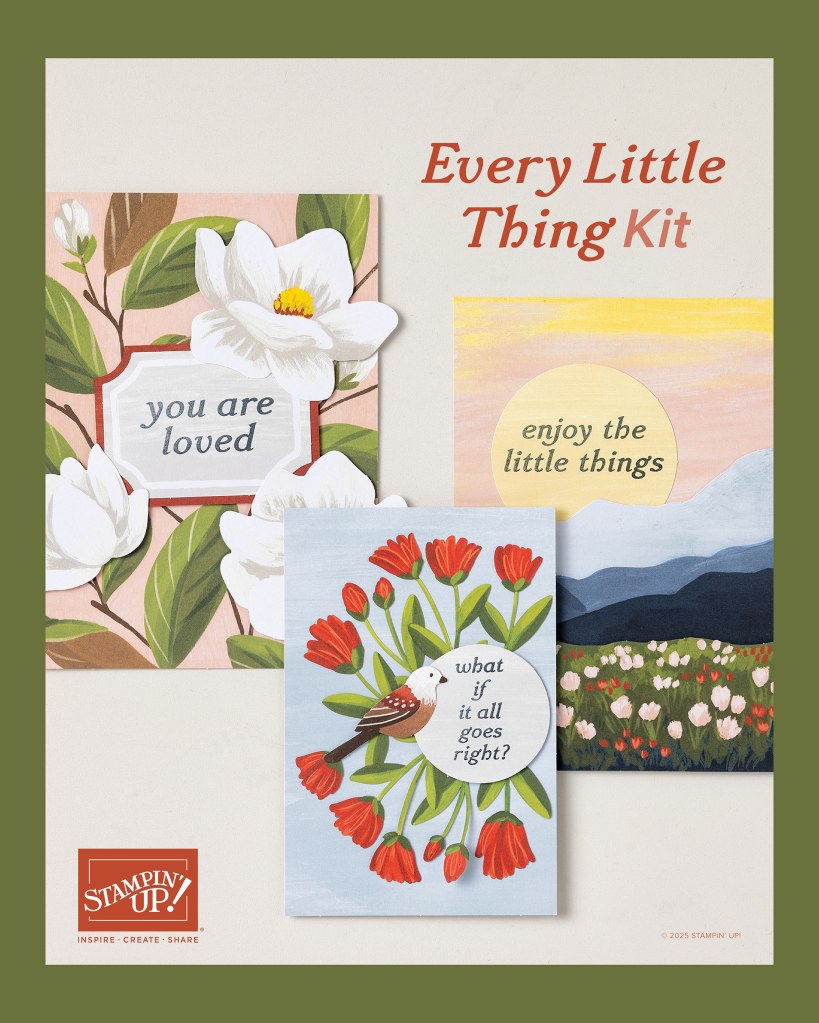
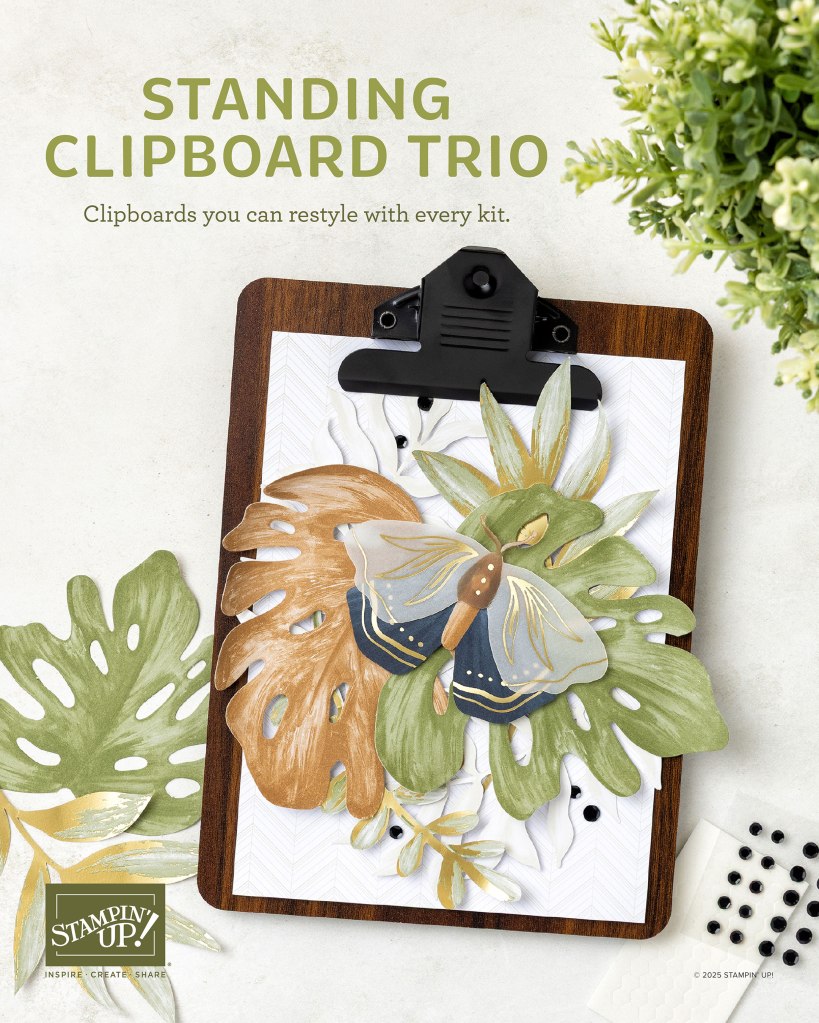
In March, Stampin’ UP! introduced 3 new kits that are more home decor! There is a Standing Clipboard Trio to display. You can add on to the clipboards with the other kits and create your personalized display pieces. There are two kits currently to go with the clipboards, the Every Little Thing kit and the Radiant Reminders kit. Check them out!

Paper Pumpkin Subscription
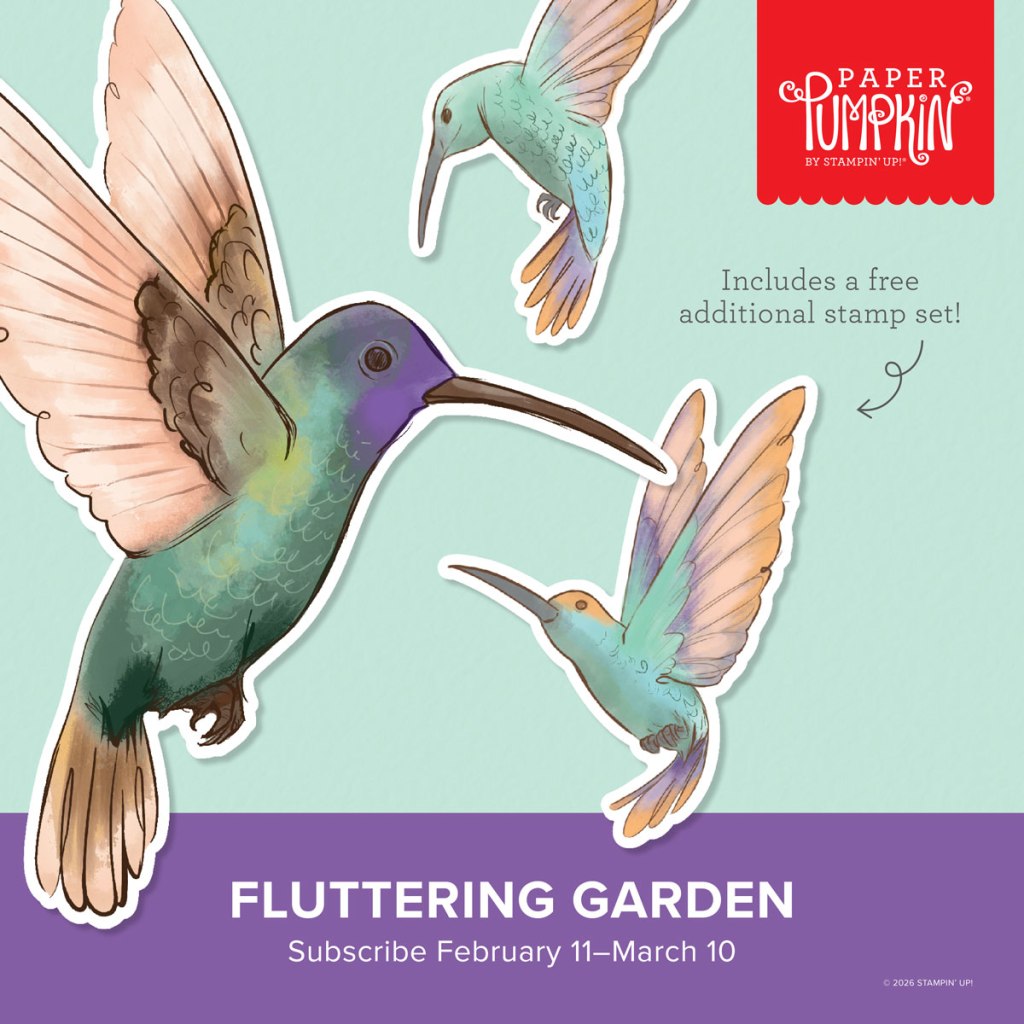
Are you new to paper crafting? Are you still learning or want to save time, but want to create beautiful cards? This month’s Paper Pumpkin cards have beautiful hummingbird designs called Fluttering Garden. These cards would make great cards for Mother’s Day
My favorite techniques
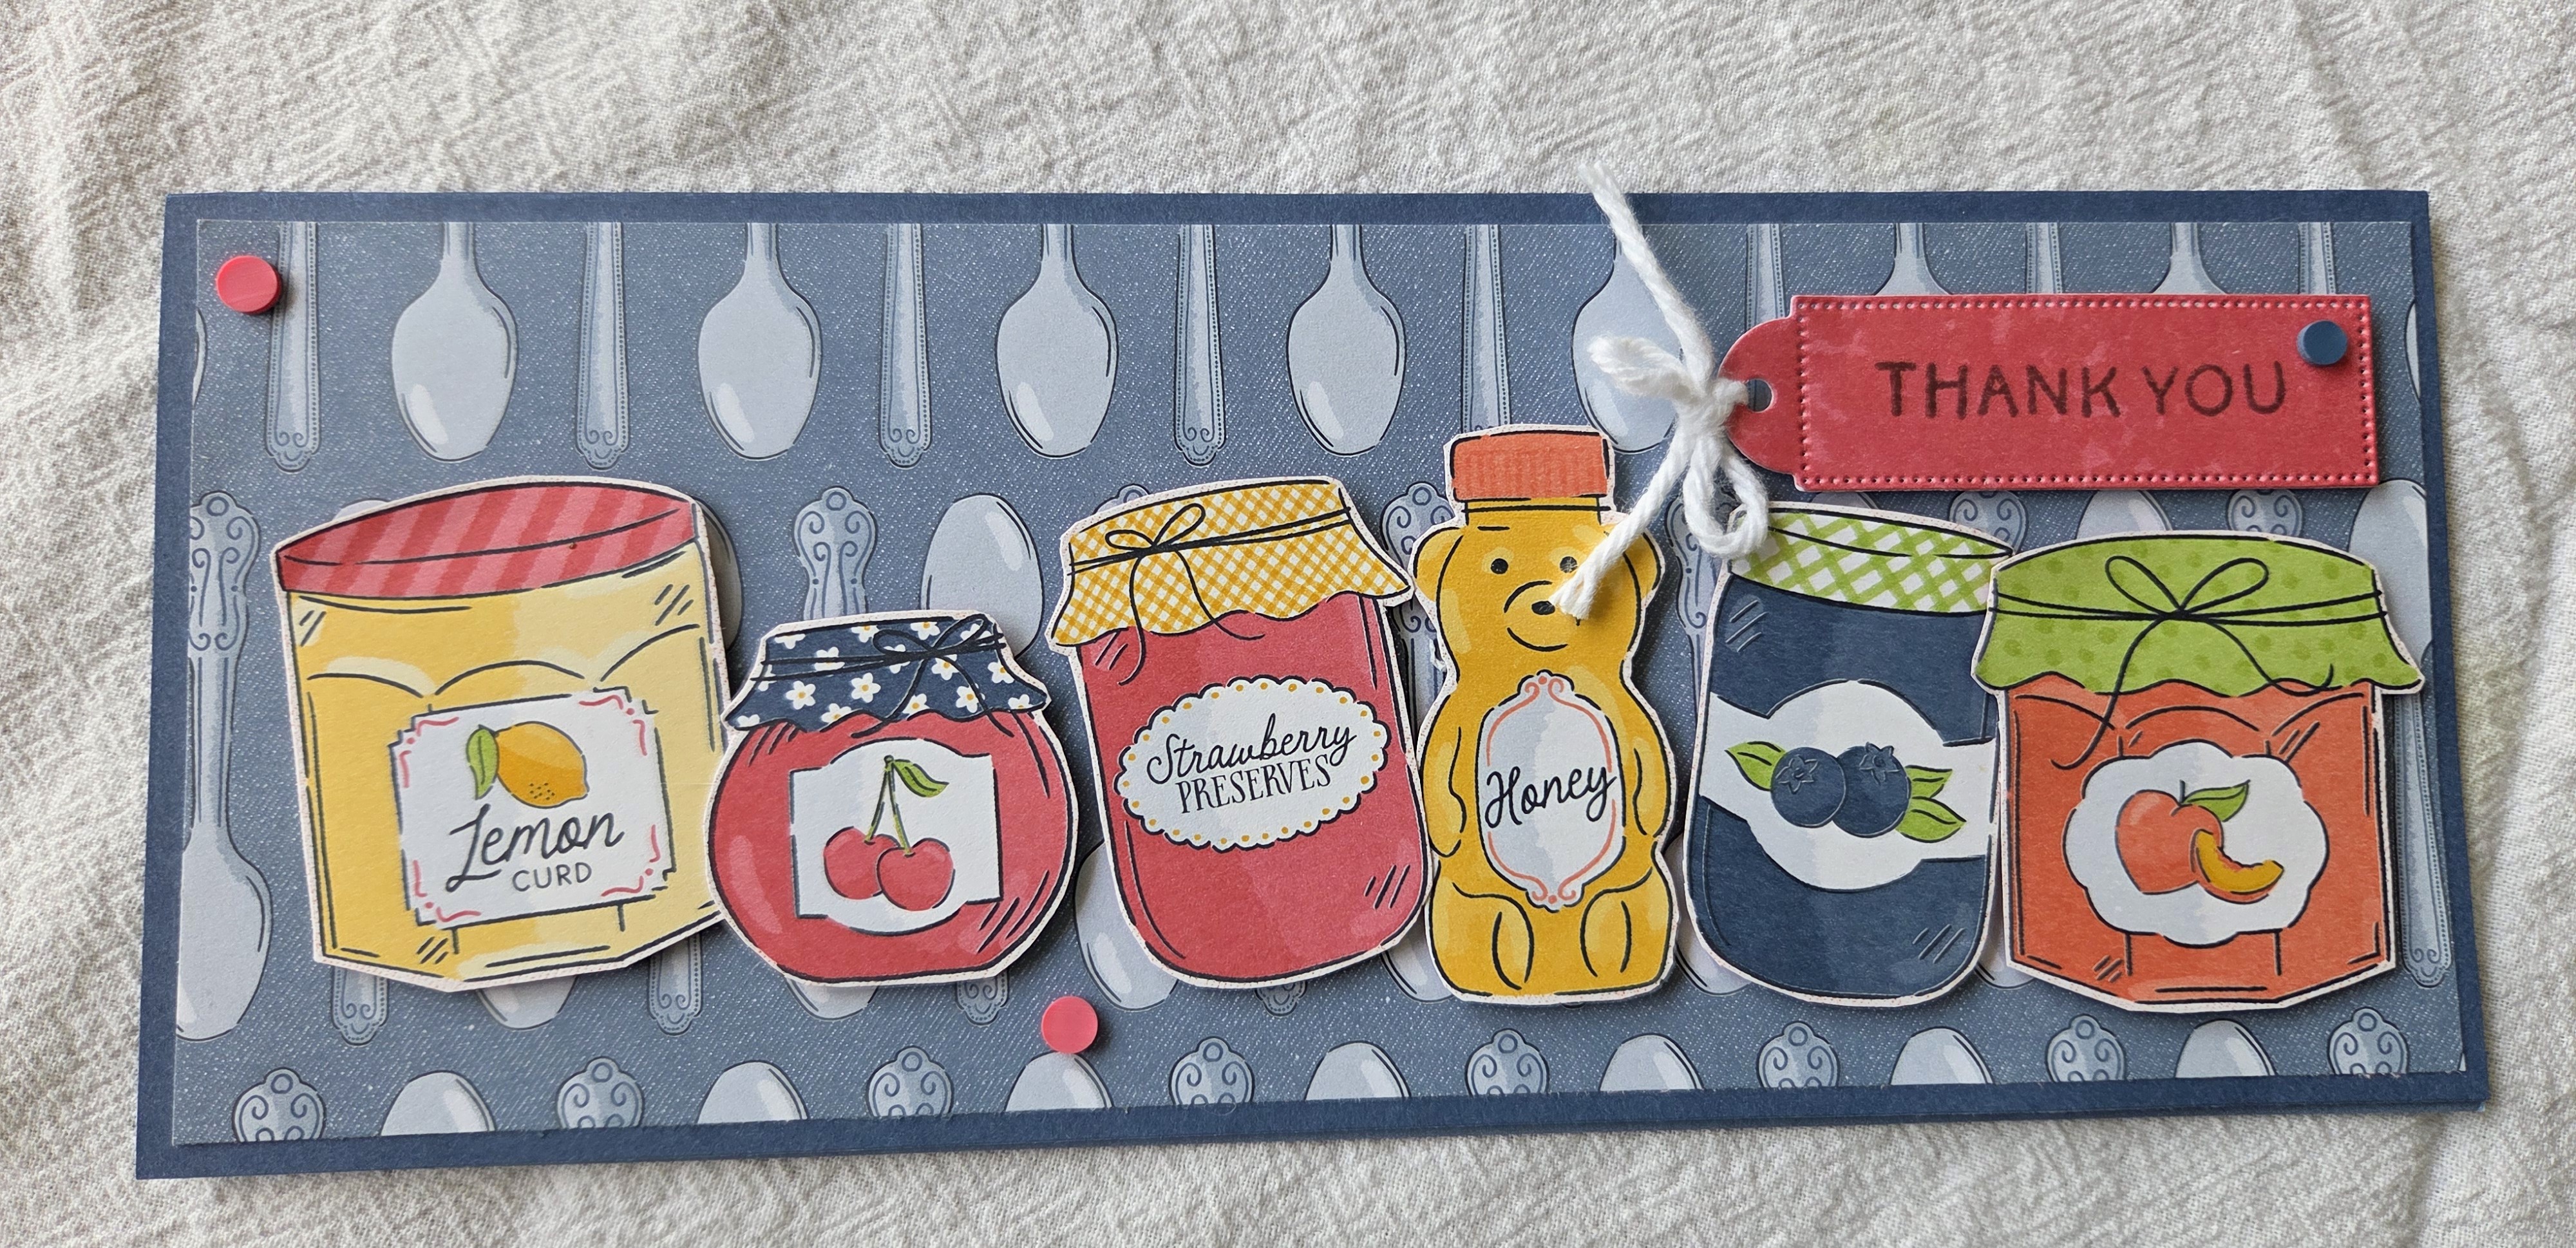
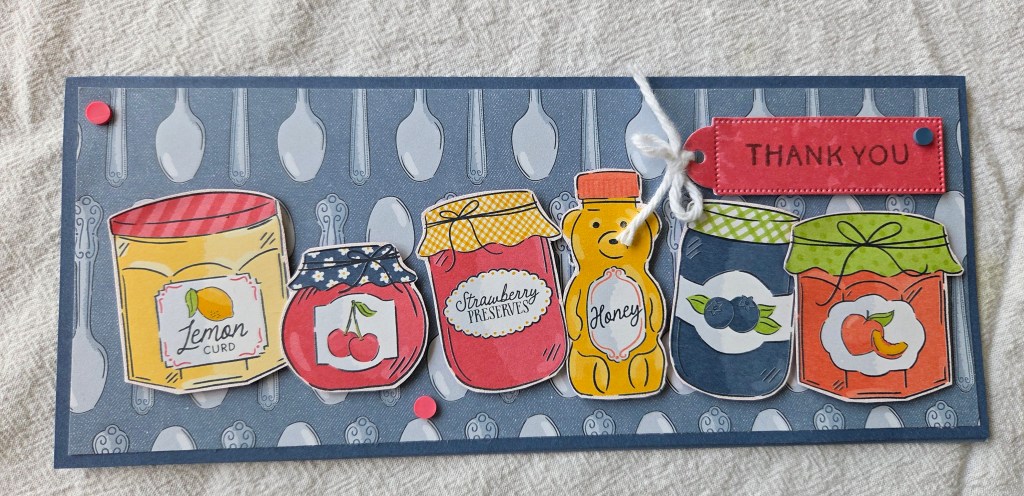
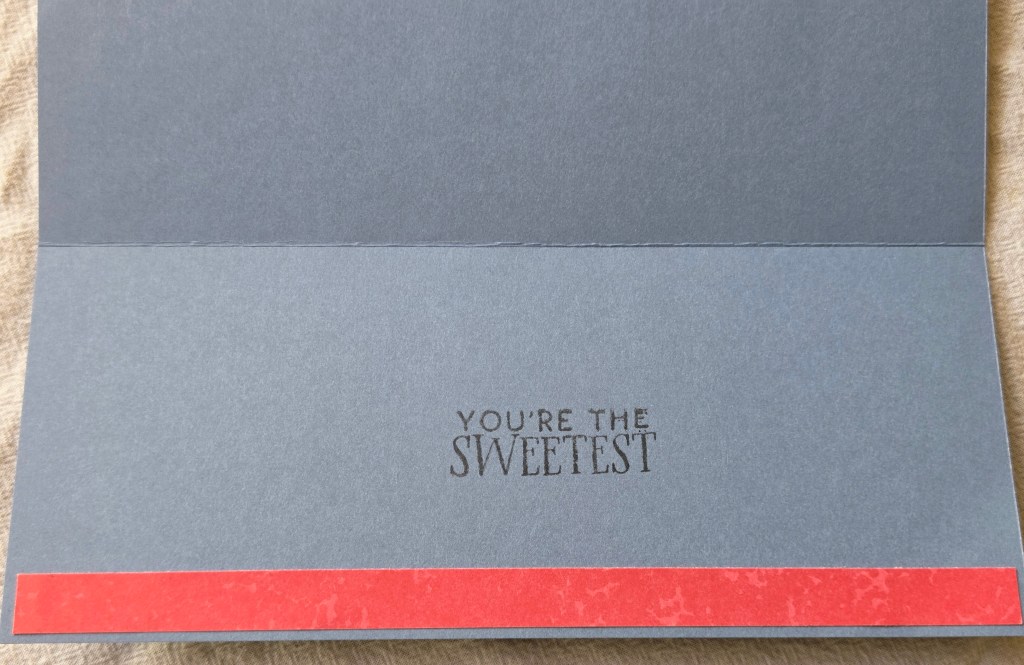
This card may look difficult to make, but it is actually very easy to create. The main technique I used is called “fussy cutting”. One of the papers in the designer series paper, Homemade Sweetness Suite has images of all sorts of jelly jars and honey in a repeating pattern. I cut around each of these six jars with my scissors staying very close to the image, but leaving a small white border around each one. I also used the Stampin’ Up! dimensional stickers to make the images stand up from the paper. The card base is made from the Made with Sweetness two toned cardstock. It is a slimline card with dimensions of 7 inches by 8 1/2 inches and then scored and folded at 3 1/2 inches on the 7 inch side. This creates the ability to mail this card in a normal mailing envelope. I layered the card by adding a designer paper with spoons on it, added my jars on the card with the dimensional stickers. I die cut the label out of the red patterned paper from the kit using the Filled with Sweetness dies (included in the suite) and stamped the sentiment on it with the Filled with Sweetness stamps (included in the suite). Finally, I added some embellishments from the Strawberries and Dots collection (included in the suite) and tied a white bow through the hole on the die cut. All items are available on my Stampin’ Up! website.
What’s new at Stampin’ Up!
For the scrapbookers out there!

Inspiration
Crafty Mama’s Tips
Adhesives can be difficult when crafting. Glue leaks out from under your paper/embellishments or tape runners get off the sides of the paper. Pretty soon, you have adhesive on your creation where you don’t want it. There are a couple of things you can do. Use a silicone mat under your project while putting tape on. It doesn’t stick to the edges of your project and easily comes off the silicone. Your other option is to get an adhesive eraser like this one. You can rub it over excess glue or tape on your project and won’t damage it. They are widely available from your favorite crafting location.


Leave a comment