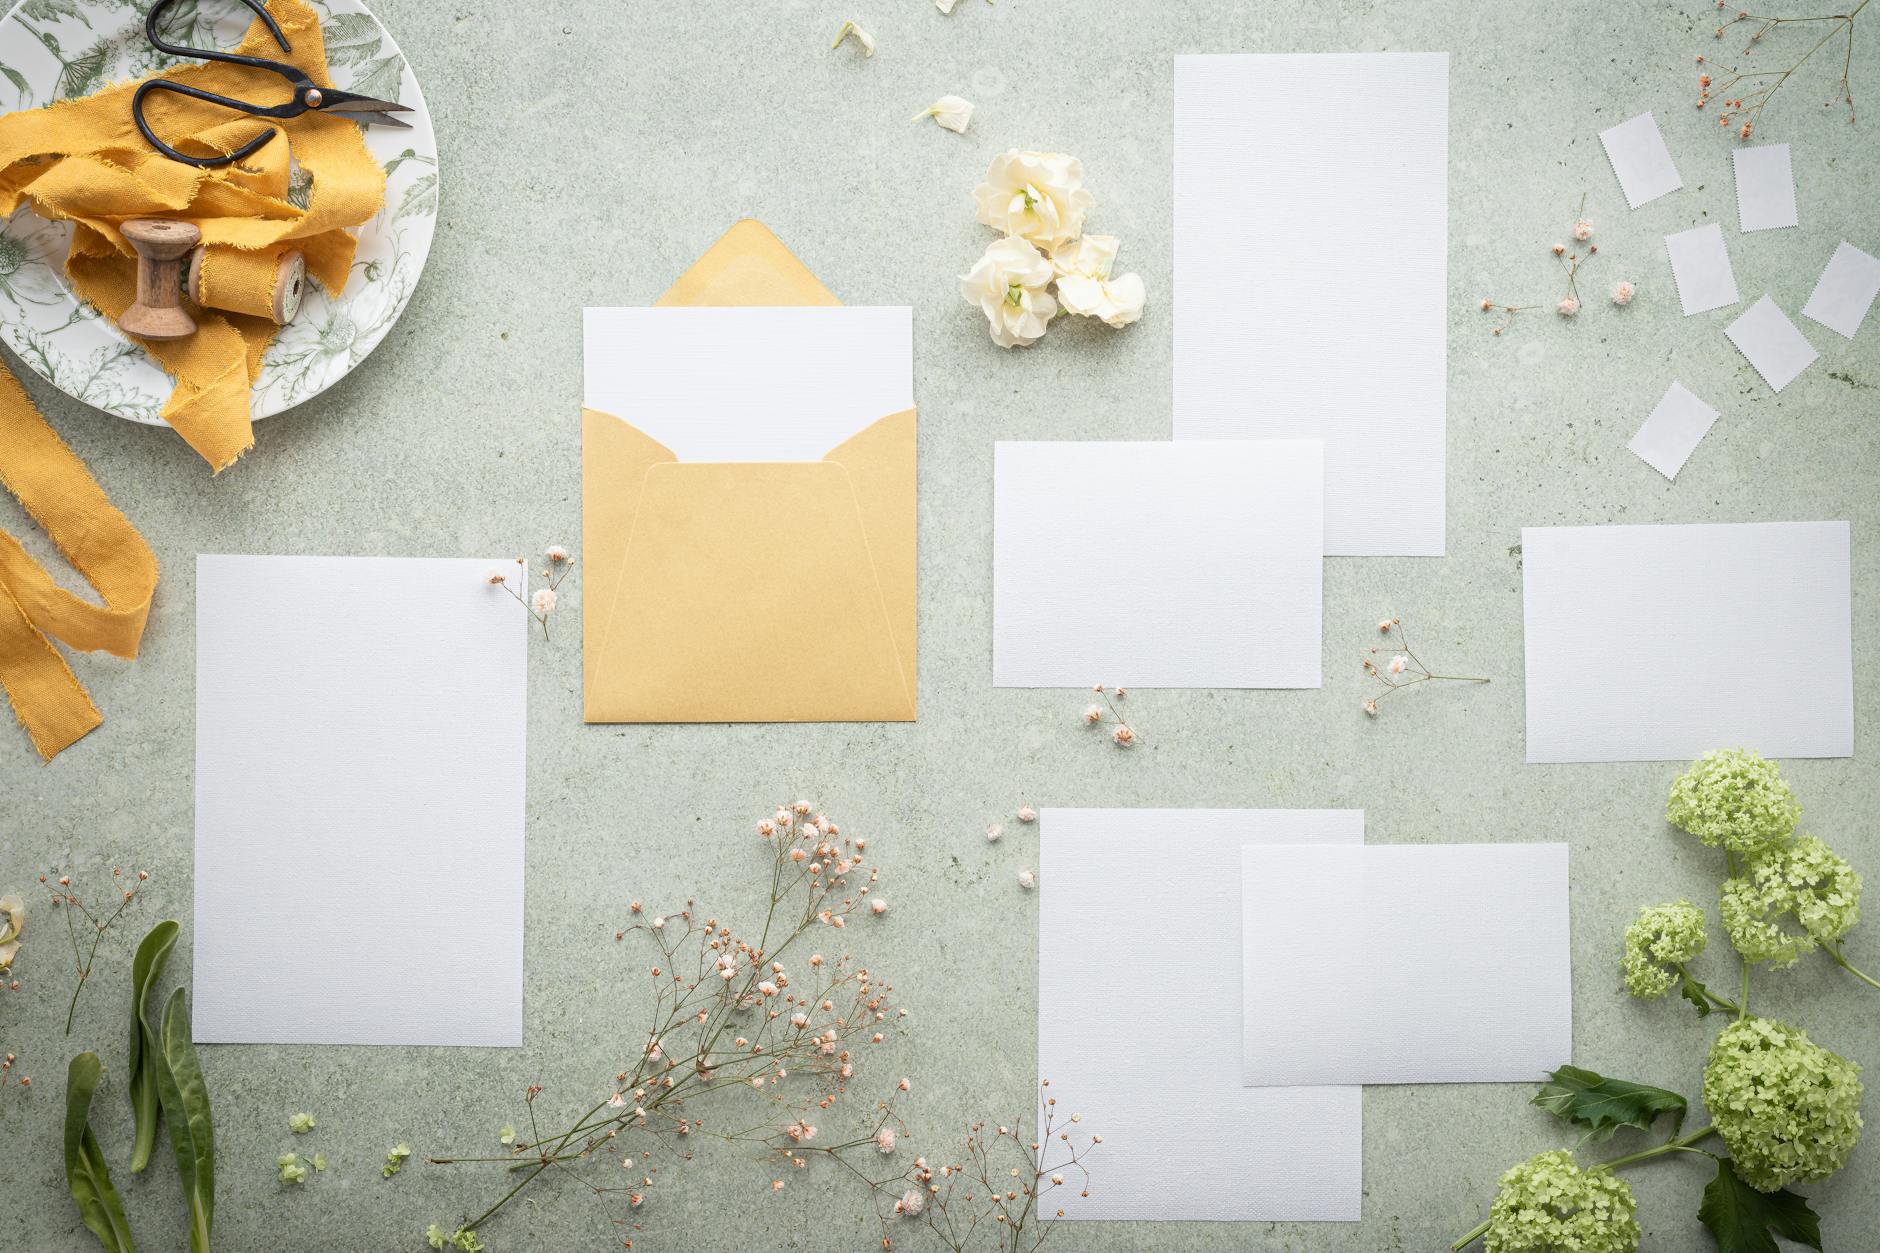
Have you ever seen those beautiful handmade cards or paper projects and thought, “I could never make anything like that”? Yes you can! I used to think the same thing and admired these projects from afar. About a year ago, I decided to try my hand at making some simple card projects. I wasn’t impressed at my results, but it sparked a fire in me to keep trying and keep creating. I started searching on Pinterest and realized that with some simple tools I could make cards too, and this from a person who can’t draw a straight line without a ruler. While doing some searching on Pinterest for new ideas, projects from lots of different creators kept popping up, and they all had one thing in common. They were all independent demonstrators from a company called Stampin’Up! The cards were very creative, beautiful, and dare I say even professional looking. They were so much more than just a mass produced big company card. I decided I wanted to become part of this creative family and became an independent demonstrator myself. I love the products and am more creative than ever. I want to share my love of crafting and card making with you and show that you can make beautiful personalized and creative projects with the right products and tools. Come join me on this great adventure and make something spectacular!
Don’t know where to start?
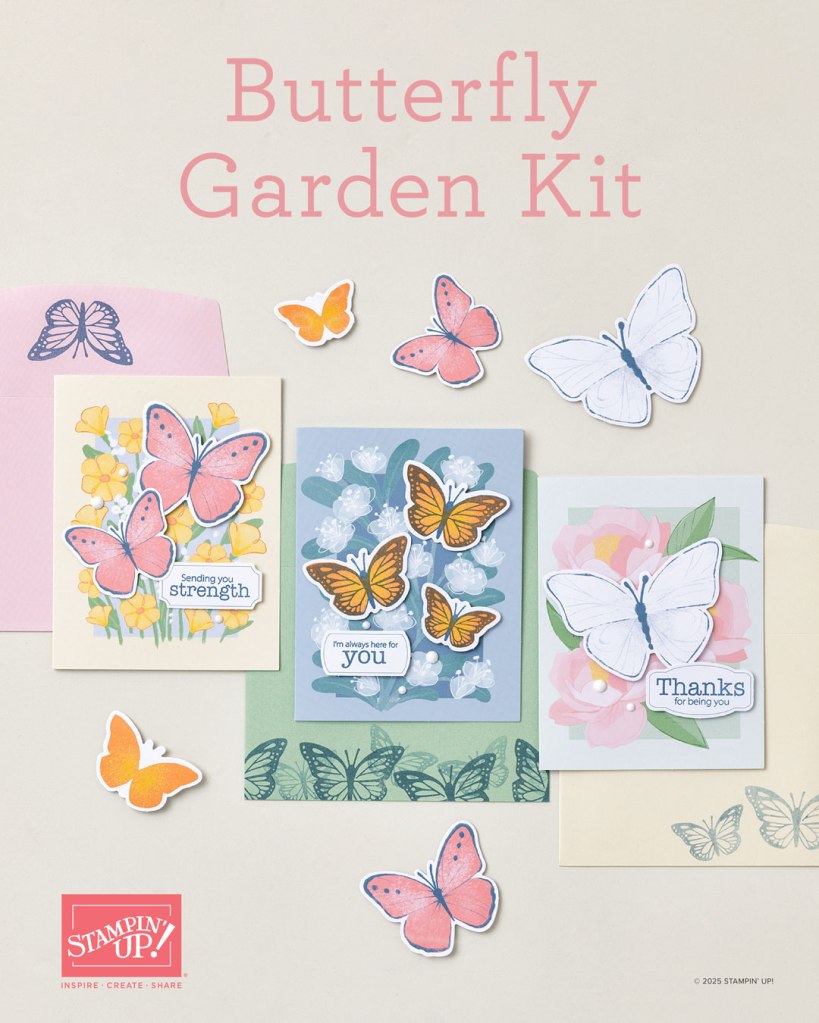
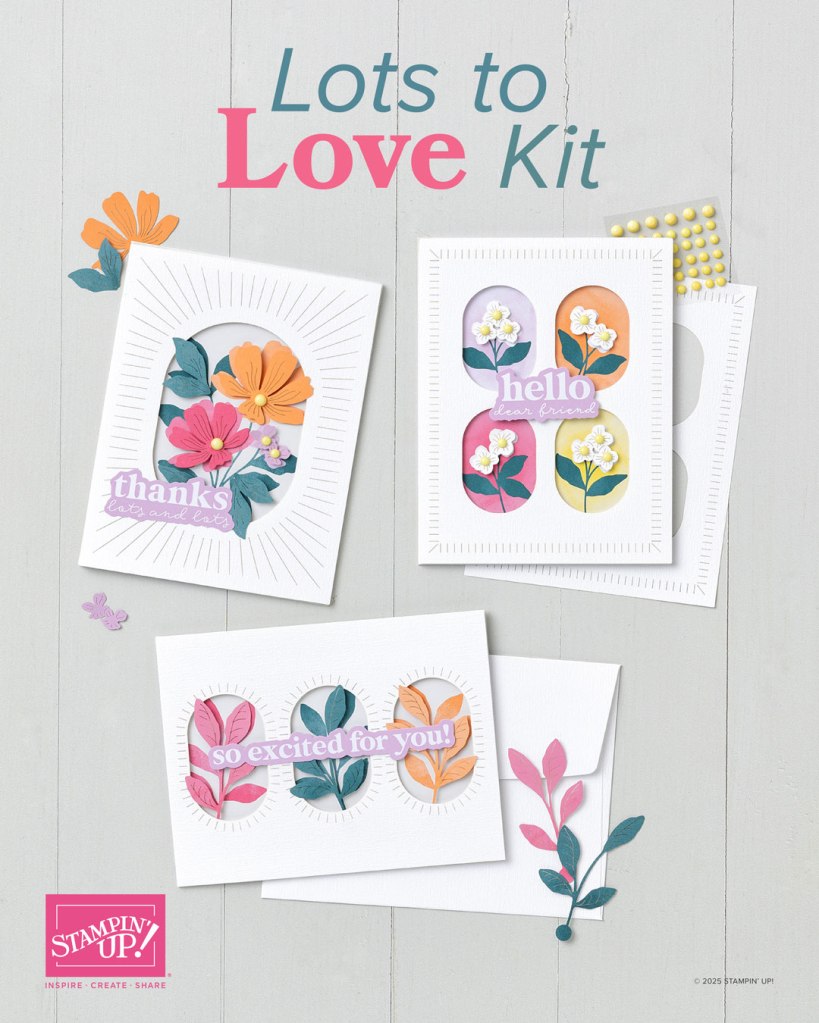
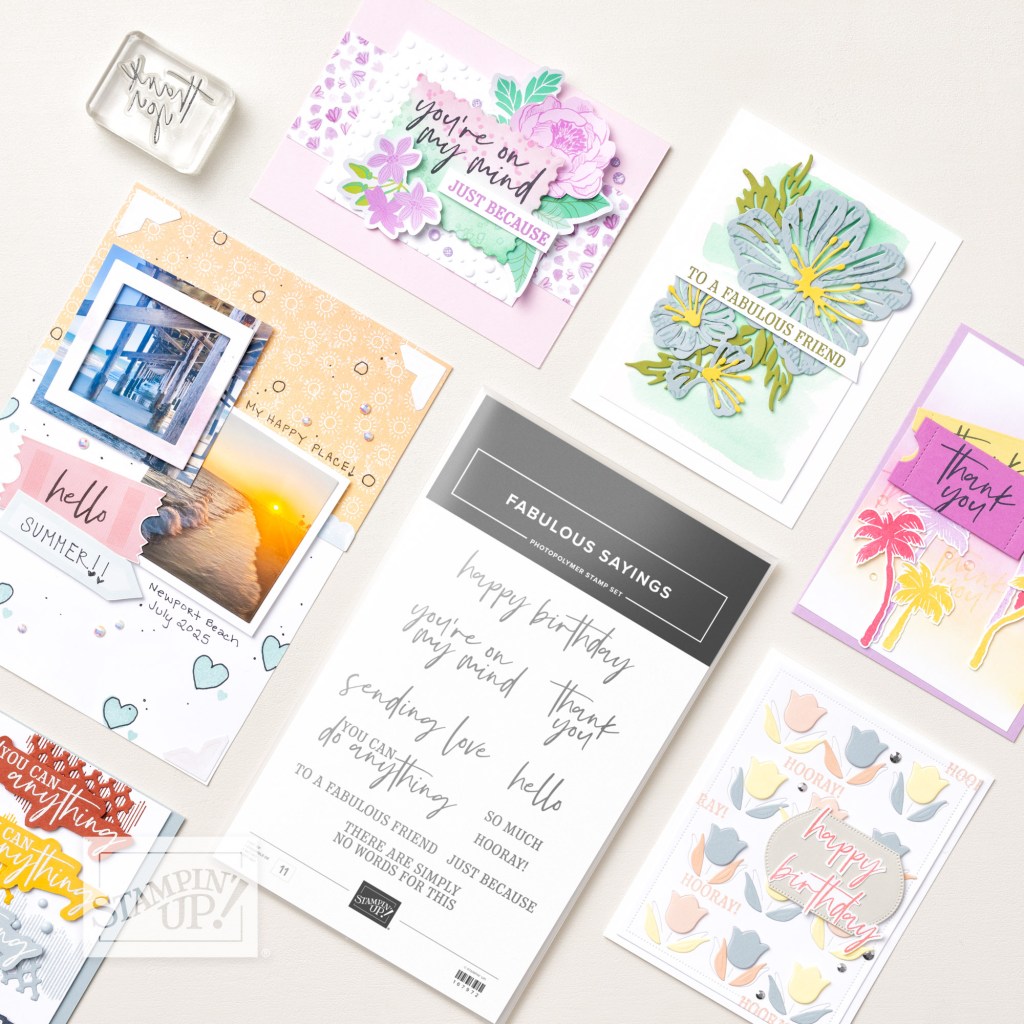
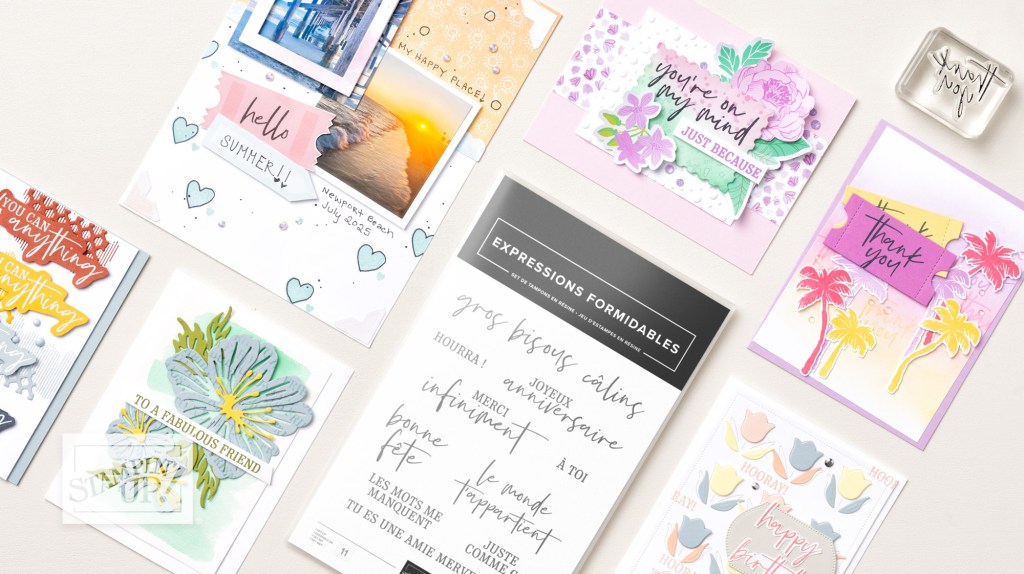
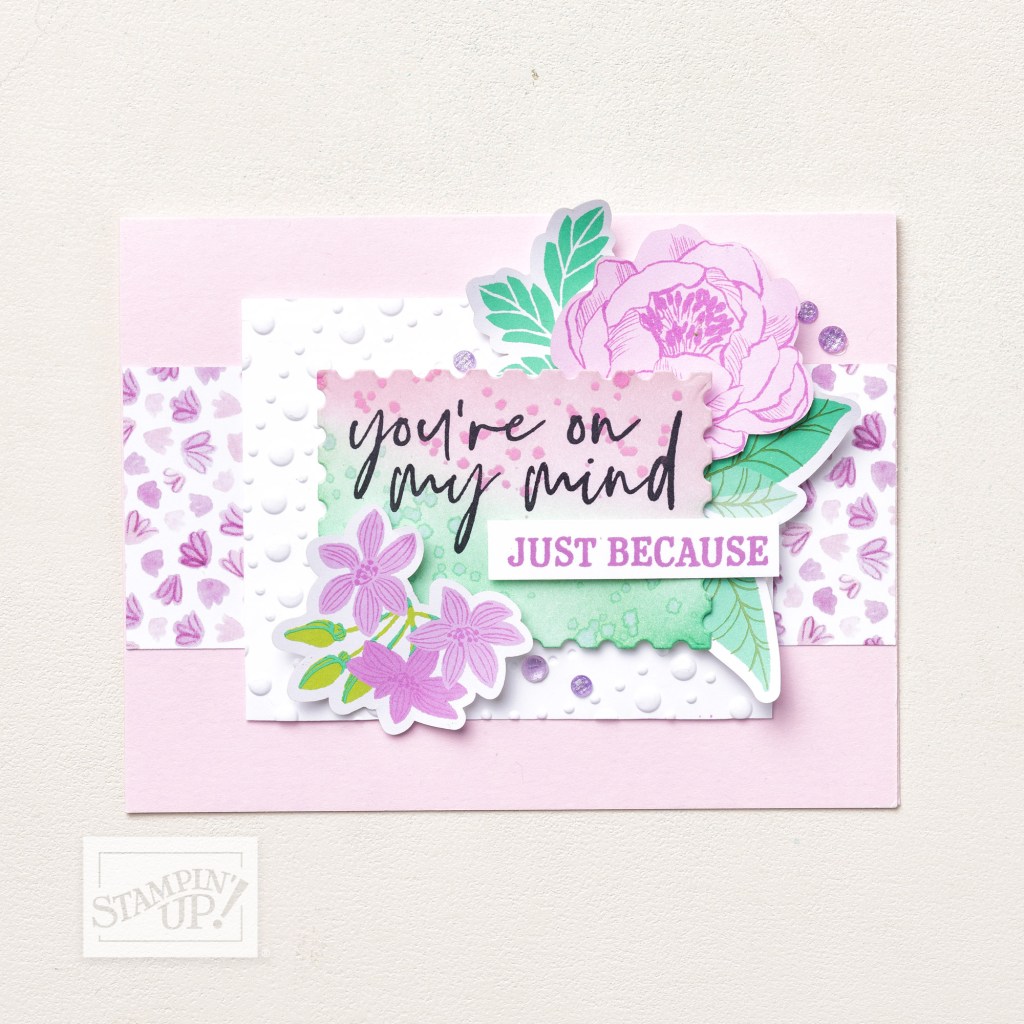
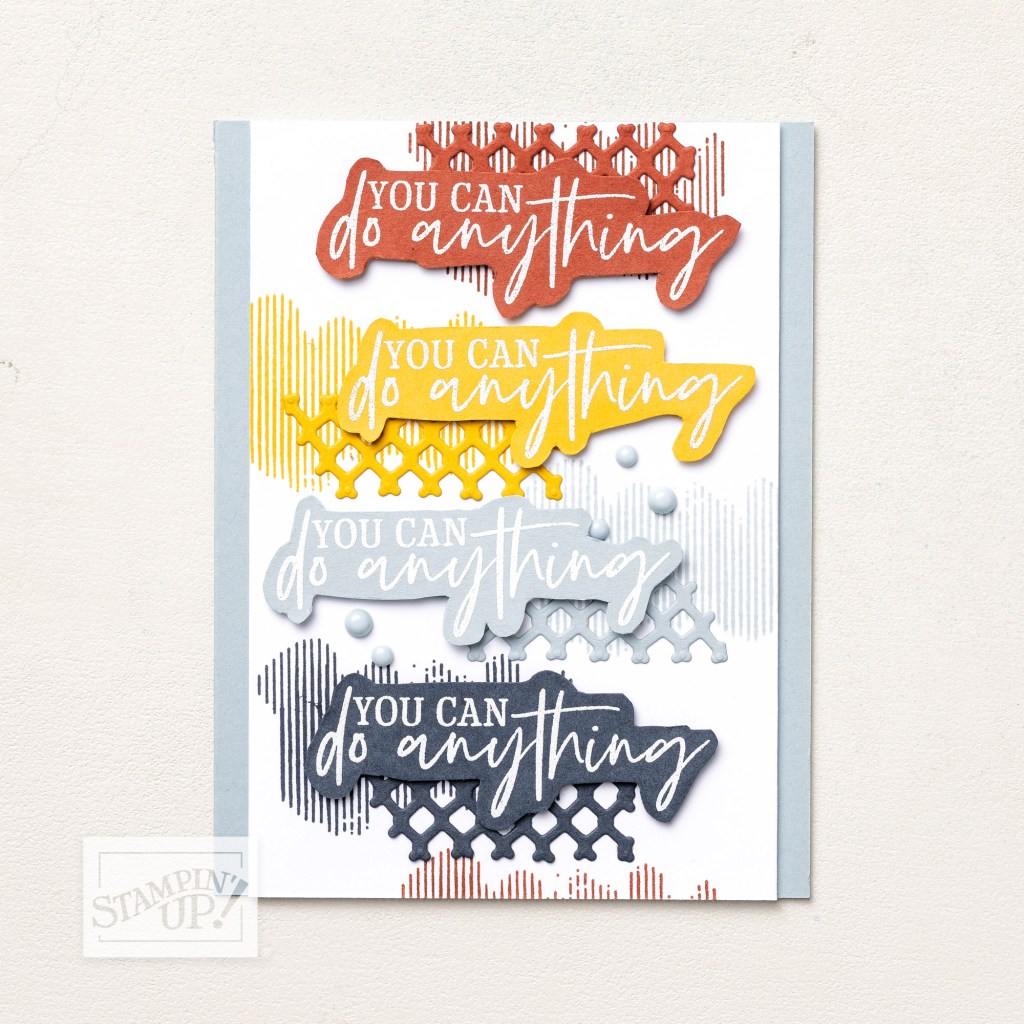
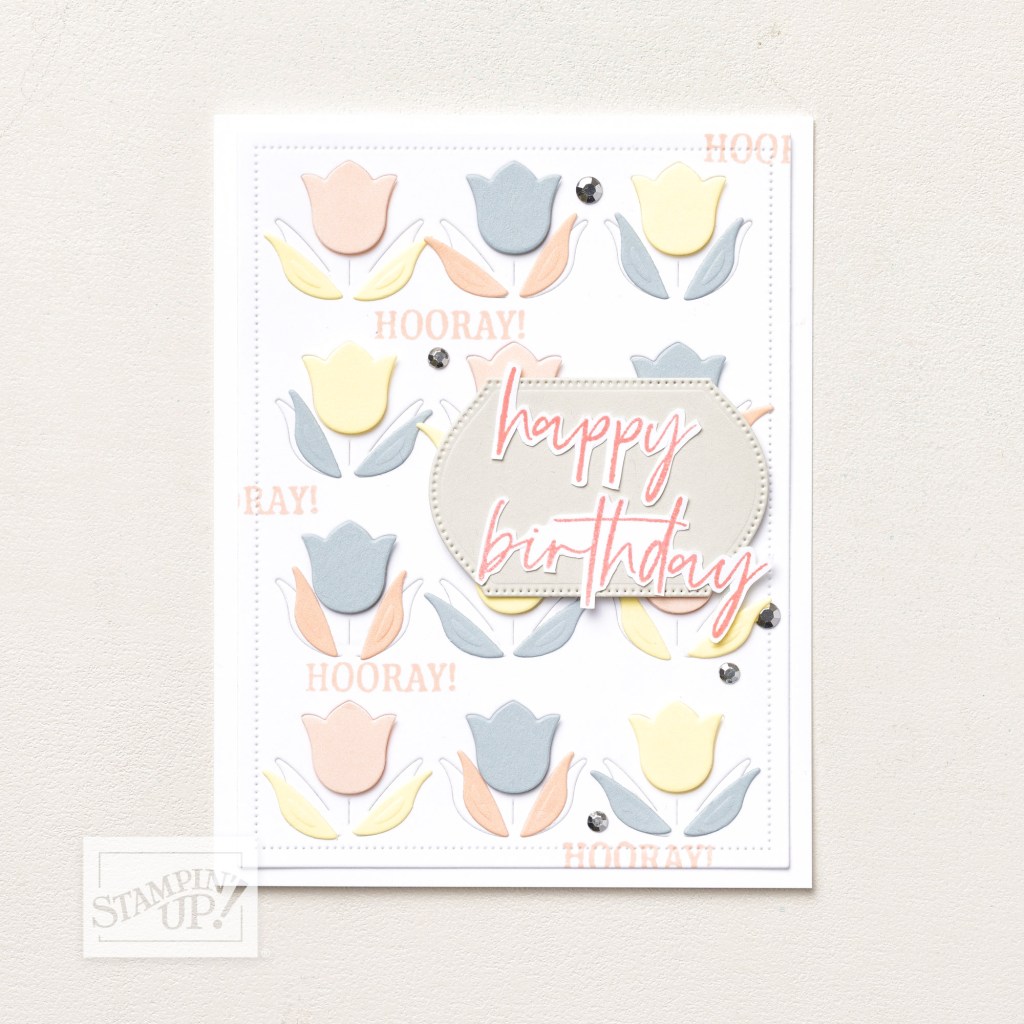
Stampin’Up! has great options for beginning crafters. Predesigned card kits are available with varying skill levels. Some kits are all prepared ready for you to create, while others engage your skills with techniques like stamping images. Take a look and find something you love! To take advantage of these marvelous card kits, just click on the picture for the link on my Stampin’UP! website.
My Favorite Techniques
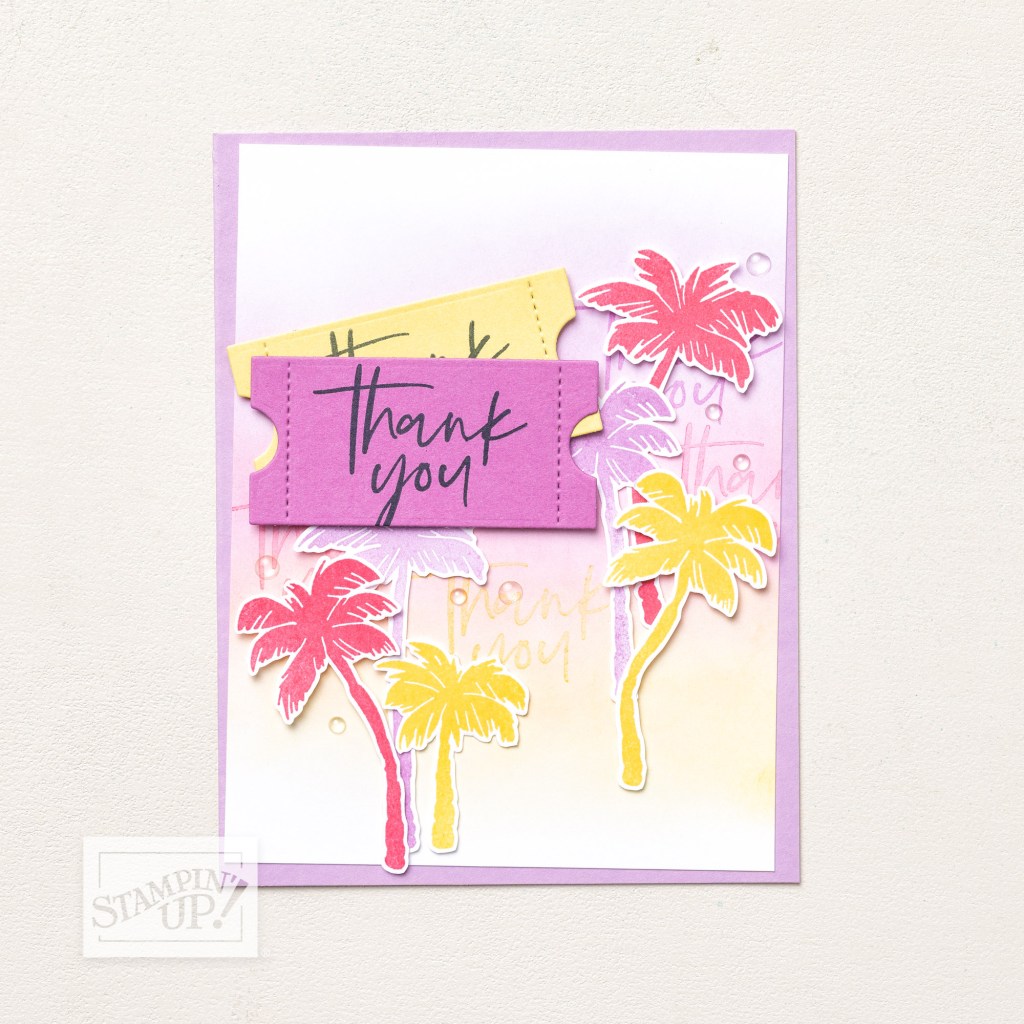
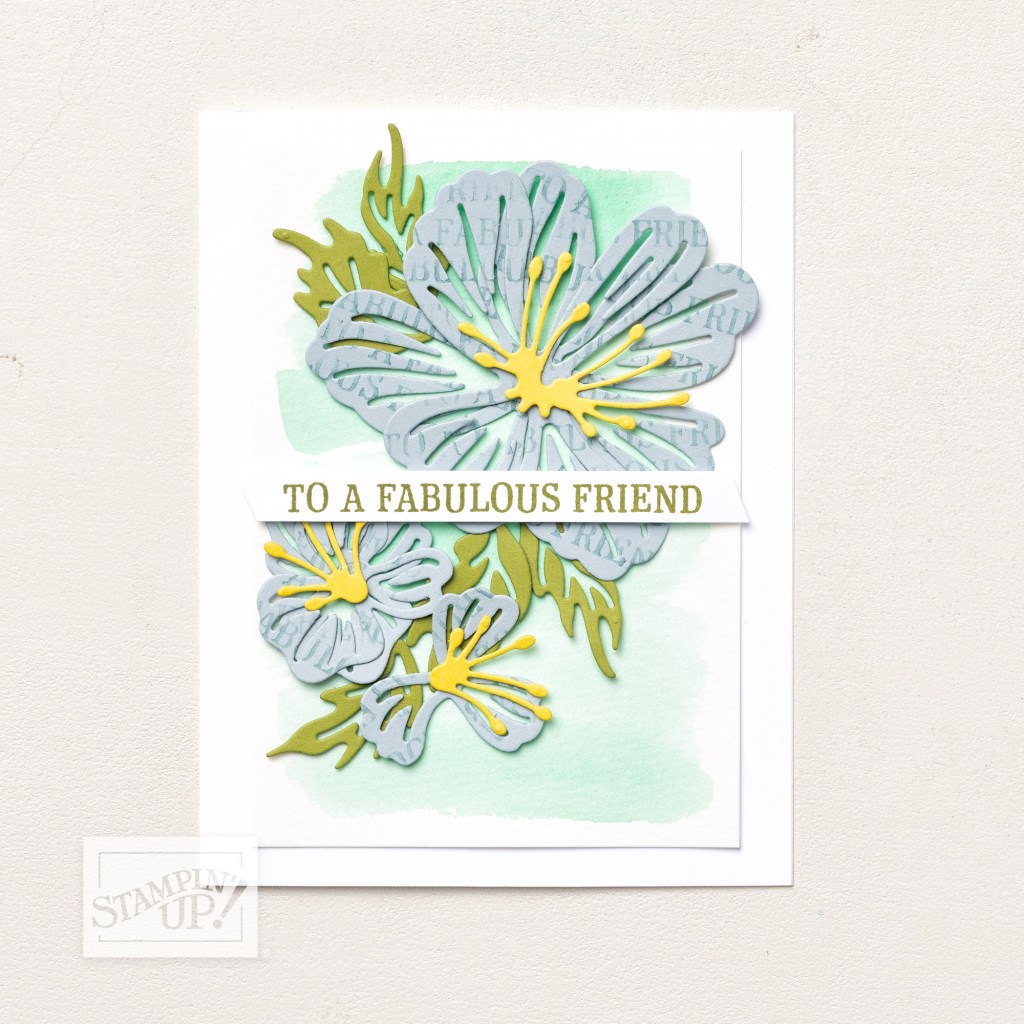
One of the best things about creating cards and papercrafts is the wide versatility of techniques that can be utilized. Projects can be stamped, embossed, die cut, colored, “ink smooshed”, fussy cut and many more. For example, this card I made uses quite a few techniques put together to create a gorgeous card.

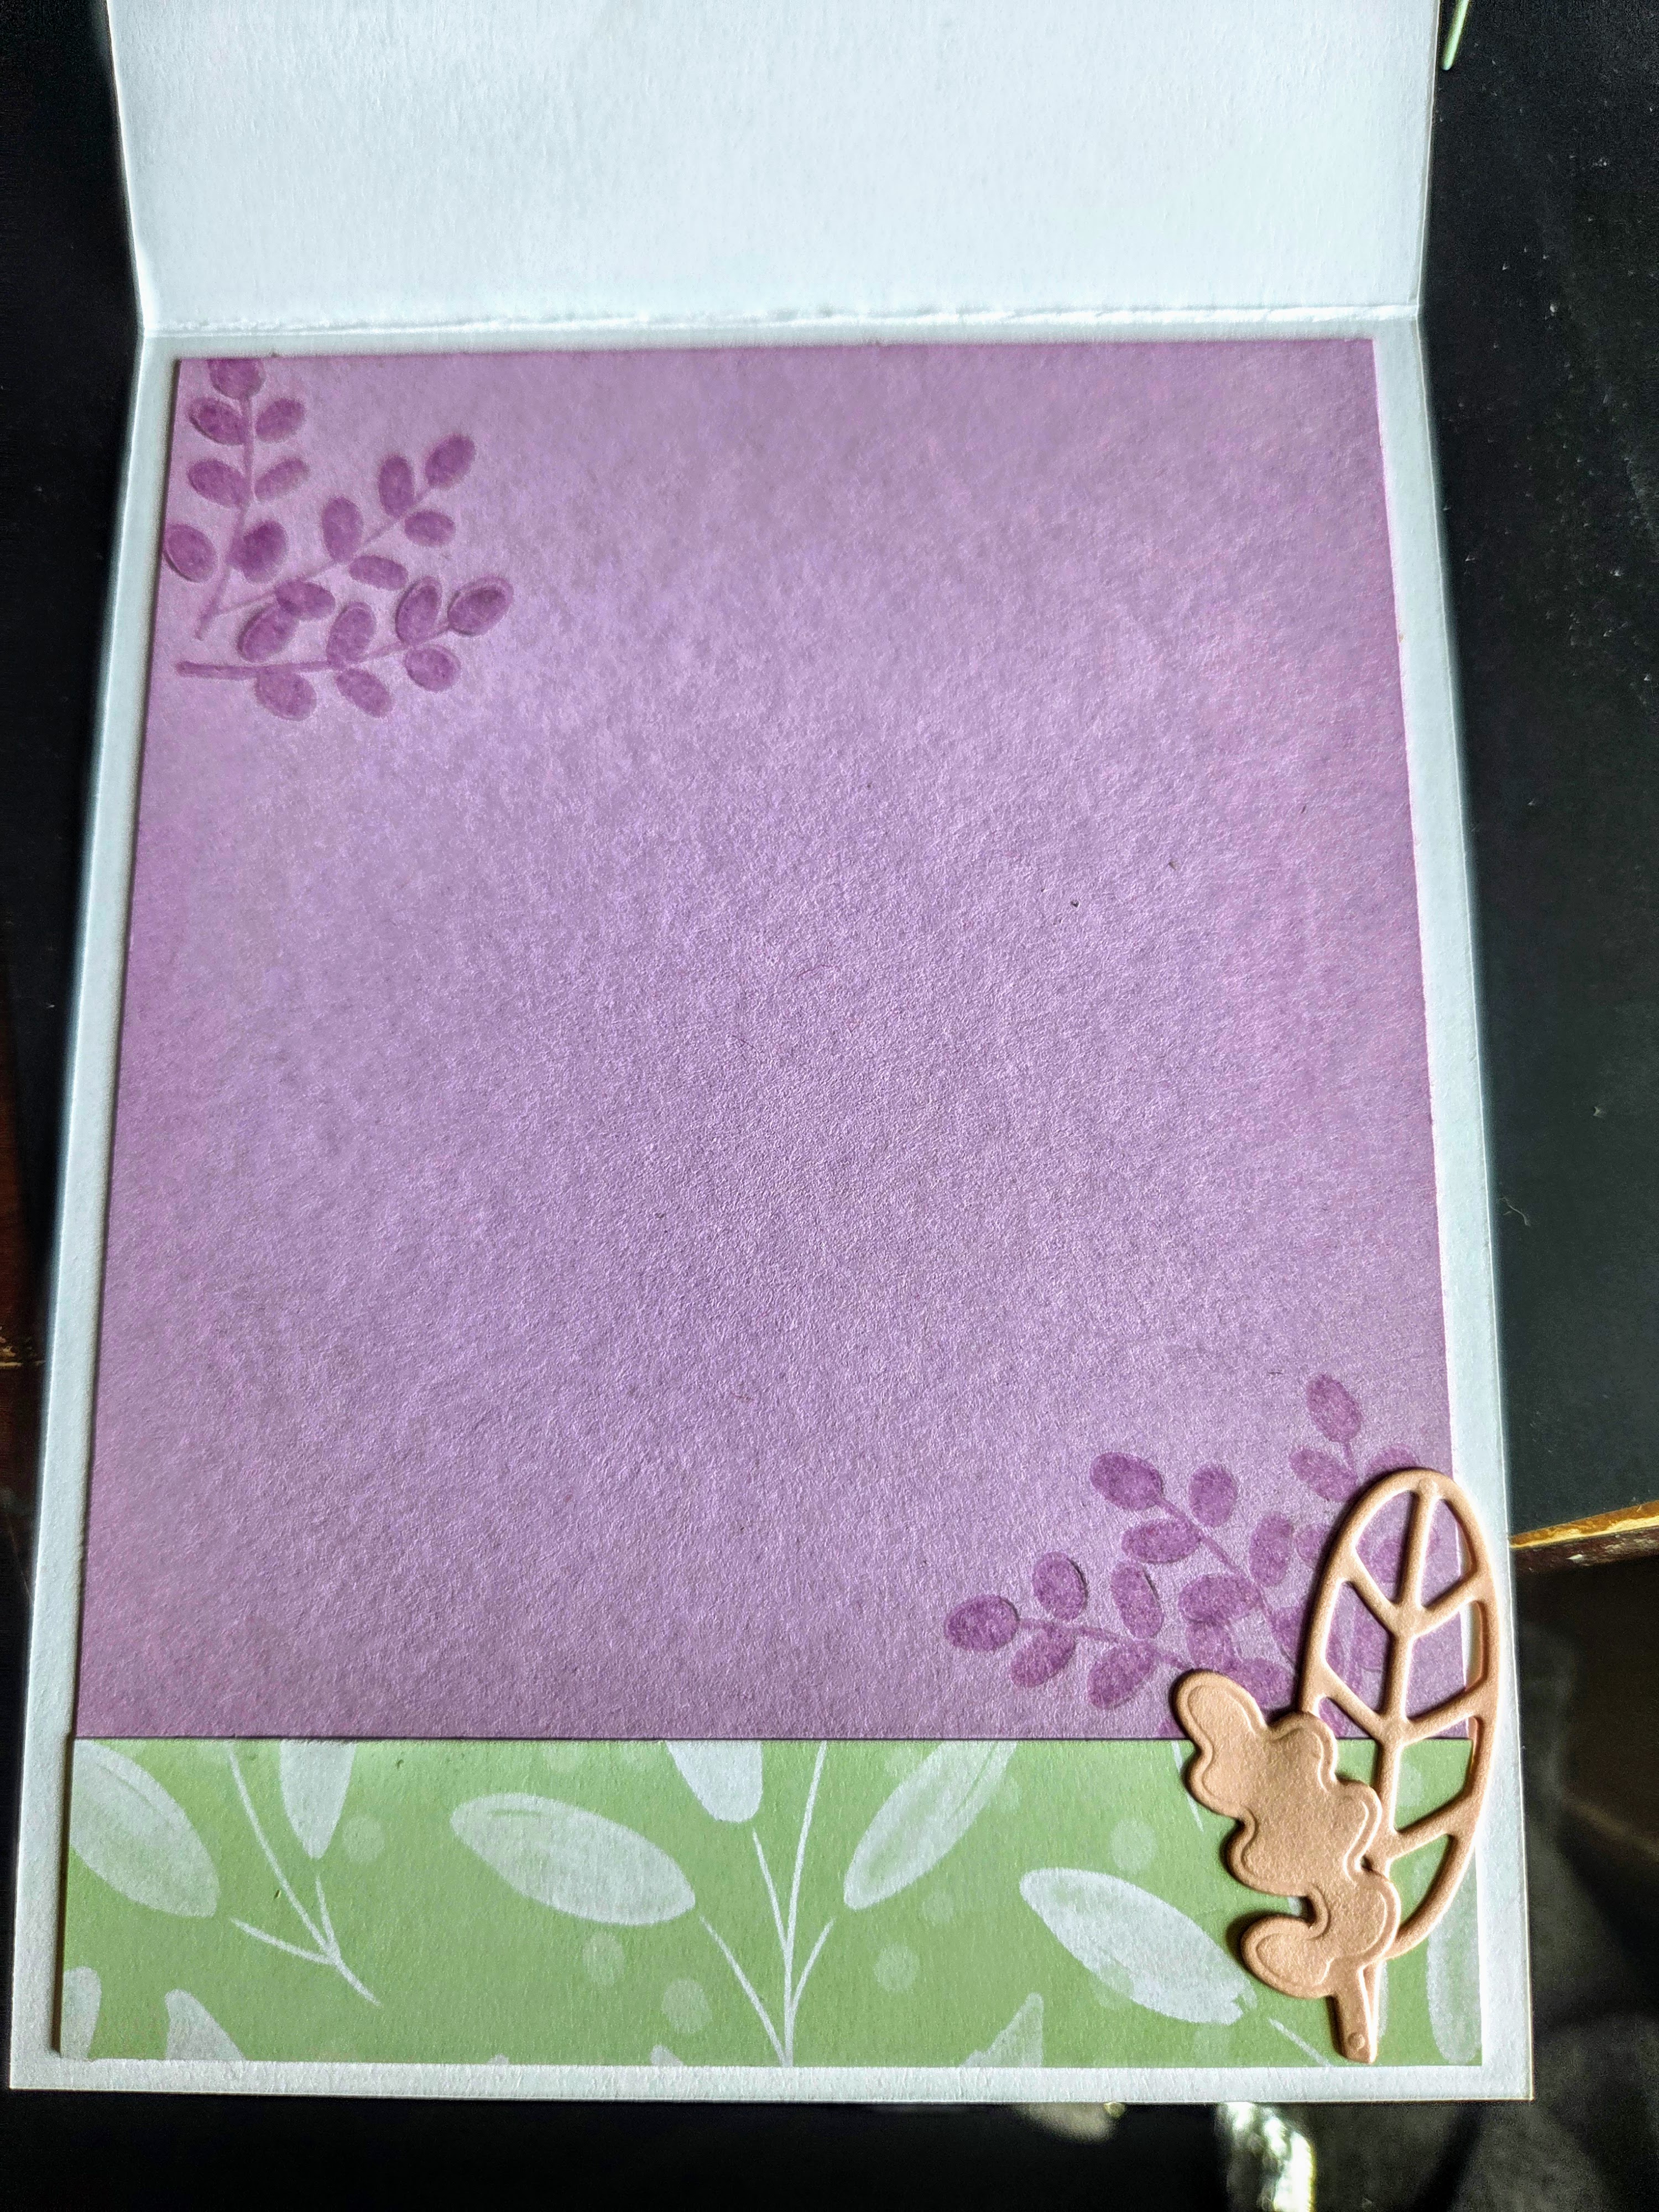
This card is made from the Stampin’Up! “Friendly Foliage” Stamp and Die bundle. What is that you ask? The clear polymer stamp is primed up with ink and then pressed on to the paper or cardstock. In this example, the ink pad used is called Versamark water mark pad. When stamped on to cardstock, it initially looks clear and as it dries the color darkens giving the stamp a tone on tone look and matches seamlessly. The cut leaves are made from die cuts in the bundle and cut out using a die cutting machine. Coordinating papers and cardstock are then cut, adhered to the card base and layered to create a beautiful blend of images to make a one of a kind card.
Supplies (click on item name to link to website)
- Friendly foliage stamp and die bundle
- Subtles 6 x 6 inch pattern paper
- Subtles 8 1/2 x 11 inch cardstock
- Versamark stamping pad
- Paper rounder
- Stamping block
- Die cutting machine
- Glue and tape adhesive
Check out the exciting events at Stampin’Up!
Bonus Days

Product of the month
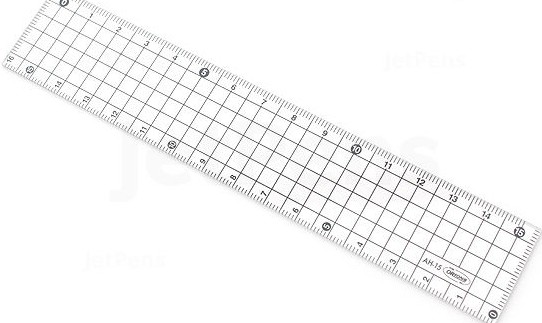
Crafty Mama’s tip of the day
Do you have trouble getting layers on your cards straight? Use a clear grid ruler like this one. Line it up on your card with one of the gridlines along the edge and place your layer on the free edge. Nice straight layers!
Inspiration
CREATIVITY IS INTELLIGENCE HAVING FUN! Albert Einstein
So have fun while you create, it doesn’t have to be perfect. Enjoy the process
Questions? Suggestions for techniques?
Email me at craftymamasden@craftymamasden
Coming Soon
Look soon for a technique video on You Tube!


Leave a comment